Cyanotype is a timeless art form for creating stunning blue sun prints. It’s a unique process that dates back to the 19th century.
Today, both amateur and professional artists enjoy making cyanotypes. A quality kit can unlock a world of artistic possibilities.
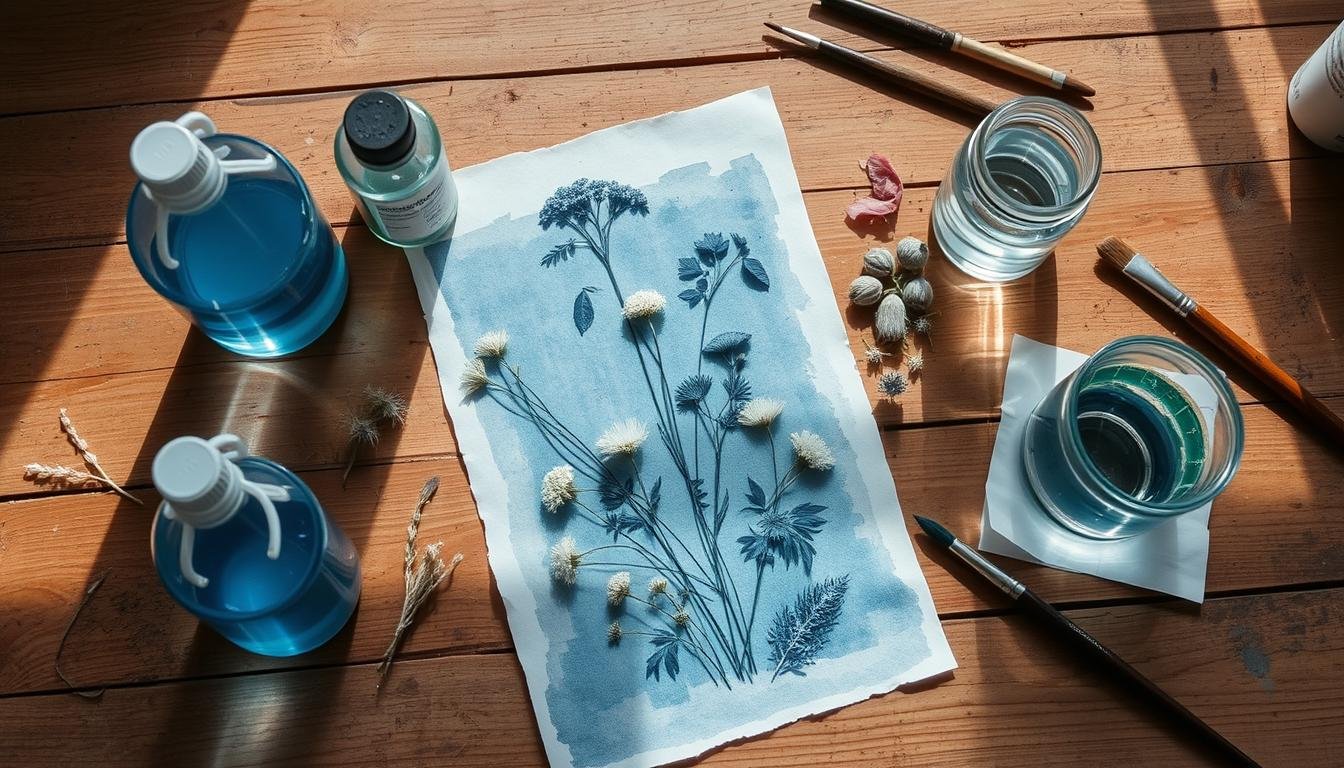
Cyanotype kits include treated paper or fabric, brush or sponge applicators, and instructions. Using a cyanotype kit lets you make blue sun prints at home.
You can create photograms and other unique art with sunlight or UV light. It’s easy and fun to do in your own space.
What is a Cyanotype Kit?
A cyanotype kit helps create sun-print art. It contains light-sensitive chemicals that react to UV light.
These kits produce vivid blue images. The process dates back to the 19th century.
Artists and hobbyists love using cyanotype kits. They include treated paper, brushes, and instructions.
To use, coat paper with iron salt solution. Place objects on top to create your image.
Cyanotype kits offer many creative options. You can make botanical prints or try photographic techniques.
With practice, you’ll create unique sun-print art. Your pieces will capture beauty in blue and white.
How to Choose the Right Cyanotype Kit for You
Picking the perfect cyanotype kit involves several key factors. Your skill level is an important consideration.
Beginner-friendly kits often include pre-treated paper. This makes the process simpler and more accessible.
For more control, choose kits with liquid emulsion. These allow you to coat your own surfaces.
Think about your project goals. Are you creating large artworks or smaller pieces?
Some kits offer a selection of papers or extra tools. Your budget is also important, as prices can vary.
The best kit depends on your vision, experience, and needs. Read reviews to find the kit that fits you.
With the right tools, you’ll create stunning sun-print art. Choose wisely and let your creativity shine!
Step-by-Step Guide to Using a Cyanotype Kit
Cyanotype prints combine art, science, and magic. Get your kit ready and follow these steps for great results.
Cover your work surface with a protective layer. Mix the chemicals as instructed.
Apply the solution evenly to your paper or fabric. Place objects or negatives on the coated surface.
Watch the UV exposure closely. The time depends on sunlight intensity.
Move your project to a dark area when the color is right. Develop the image in the provided solution.
Gently move the solution for even coverage. Watch the Prussian blue hues appear.
Rinse your cyanotype under running water to remove leftover chemicals. This step is important for your artwork’s lifespan.
Hang or lay flat to dry. Your unique cyanotype masterpiece is now ready!
Tips for Achieving Stunning Results
Crafting striking cyanotypes needs careful object placement and mastery of negative space. Arrange items on the paper, thinking about how shapes and textures will interact.
Use negative space to highlight key elements. This creates a sense of balance in your composition.
Exposure time is crucial for stunning cyanotype results. Try different times to explore various blue hues.
Longer exposures create defined outlines and intricate details. Shorter exposures may produce softer, ethereal effects.
Choose objects with intricate patterns, dramatic silhouettes, or unique textures. Botanical specimens, lace, and found objects make captivating subjects.
Arrange these elements in creative ways. This will make your final prints more interesting.
Where to Buy the Best Cyanotype Kits
Cyanotype kits are easy to find. You can buy them online or at art stores.
Jacquard Products and Craftsmen Supply Co. sell great kits online. They have many choices.
Local art stores often have cyanotype kits too. You can see and touch them before buying.
Always buy from trusted sellers. Good kits have quality stuff and help if needed.
With practice, you can make cool sun-prints at home. It’s fun and easy!
Exploring Advanced Techniques
Cyanotype printing offers endless artistic possibilities. Toning your prints can add new dimensions, creating stunning color variations beyond Prussian blue.
Try different toning agents like tea, coffee, or ferric ammonium citrate. These can create unique sepia, green, or purple hues.
Mixed media elements can yield captivating results in cyanotype art. Layering textures or drawing on the surface adds depth to your creations.
Explore the interplay between cyanotype’s blue and your mixed media additions. This can create visually interesting and complex artworks.
Try printing on fabrics, wood, or 3D objects. Cyanotype’s versatility allows you to transform various materials into striking artworks.
Digital negatives can revolutionize your cyanotype designs. Create intricate digital compositions and print them on transparent film.

Embrace experimentation to master advanced cyanotype techniques. Be willing to explore the medium’s full creative potential.
Frequently Asked Questions About Cyanotype Kits
Questions often arise when starting your cyanotype art adventure. Let’s tackle some common concerns about these kits.
Troubleshooting is a frequent issue for cyanotype users. Problems like uneven exposure or faded prints can occur.
Follow the instructions carefully to fix these issues. Small changes in technique can lead to vibrant, consistent results.
Proper storage is key for your cyanotype materials. Keep supplies in a cool, dry place away from sunlight.
Good storage practices help your kit last for years. This allows you to fully explore the art form.
Many ask about the lifespan of finished cyanotype prints. Well-cared-for prints can last for decades or more.
Protect your artwork from direct sunlight. Use UV-resistant glass when framing to preserve the blue hues.
With proper care, your cyanotype creations become lasting keepsakes. They’ll stand strong against the test of time.
